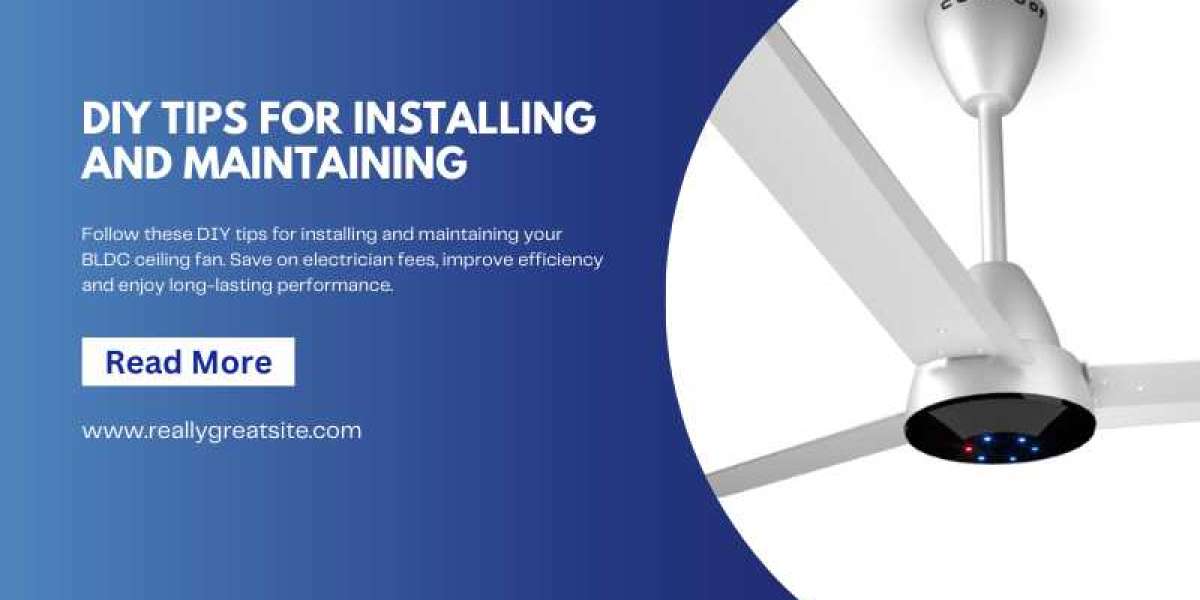
You must have heard a lot of times that BLDC (brushless direct current) ceiling fans are easy to maintain and energy efficient. Hence, they help you save money.
After hearing about these modern fans, you bought one for your home and wondered how hard it would be to install a fan. You tried to do it yourself. But now, you are confused about how to install the BLDC fan.
If this sounds like you, let me help you with DIY tips for installing your BLDC ceiling fan.
To make the process much easier, before beginning the installation process, gather the following tools:
1. Screwdriver set
2. The user manual of the fan and fan kit.
3. Ladder
4. Pliers
5. Voltage tester
6. Insulated tape
7. Wire cutters
Now, after gathering all the tools, let’s start the installation process step by step.
Step 1-Turn off the power
Ensure to turn off the power at the circuit breaker. Use a voltage tester to confirm the wires are not live because safety is the top priority.
Step 2-Prepare the ceiling
If there is any existing fan or light fixture, remove it.
Step 3-Install the mounting bracket.
Attach the mounting bracket that came with the ceiling fan to the electrical box in the ceiling.
Step 4- Assemble the fan
Following the instructions in the fan’s user manual, assemble the fan. If the BLDC fan has a downrod, and your ceiling is particularly high, secure the downrod tightly.
Step 5-Connect the wires
Time to connect the fan’s wiring to your home’s electrical wiring (colour coded) and use insulated tape to secure the connections.
Live wire (black or red) to live wire.
Neutral wire (white) to neutral wire.
Ground wire (green) to ground wire.
Step 6- Attach the BLDC fan to the Bracket
After securely connecting the wiring, carefully lift the assembled fan and secure the fan to the bracket using the screws provided with the fan. Always double-check the screws.
Step 7-Attach the blades and check the alignment
Attach the blades one by one and ensure they are spaced evenly and aligned to prevent wobbling.
Step 8-Test the fan
Turn on the power and test the fan at different speed settings to confirm they are working correctly. Check for any unusual noises and wobbling, and make adjustments accordingly.
Your installation is complete!
It was pretty easy, right? And you saved yourself the electrician’s fee.
Now that you have installed your BLDC ceiling fan smoothly. Let me give you some maintenance tips and help you save more money.
Every appliance needs maintenance. The proper time-to-time servicing will extend the life of your modern fan.
Maintenance Tips
1. Regular cleaning
Clean your fan every 2-3 months. Accumulated dust and dirt can affect the fan’s efficiency. Use a microfiber cloth or vacuum cleaner to clean the fan.
2. Check wiring
Loose wires can be a safety hazard. Check the wiring every 6-12 months and resecure any loose wires with insulated tape. Always turn off the power before checking for loose wiring.
3. Observe blade alignment
If you notice any wobbling, turn off the power and tighten the screws.
4. Monitor noise levels
As we know, BLDC ceiling fans are known for their whisper-quiet operation. If you notice any unusual noise, check for loose screws or unbalanced blades and adjust as necessary.
5. Remote control
Periodically change the batteries of the remote and keep it clean.
6. Software updates
If your BLDC fan has smart features, check the manufacturer’s app to keep the software up-to-date.
Conclusion
It’s clear that with the proper tools and little attention to detail, you can confidently install the BLDC ceiling fan yourself. It’s a straightforward process, you just have to follow the instructions carefully.
With the maintenance tips provided above, you can enjoy the benefits of a well-installed and properly maintained BLDC fan for years to come, without the extra cost of hiring an electrician.